


You know the scene. You spend three nights on a grade, the skin tones are perfect, the blacks are moody but readable, you export, and the client texts back “why is everything green?” Your monitor lied to you. It was lying the whole time, and you built an entire grade on top of the lie.
So what counts as a color suite? Not a room full of $10,000 Flanders monitors and a panel the size of a coffee table. A color suite is three promises. The display shows you the truth, the room around it doesn’t mess with your eyes, and the signal reaching the screen hasn’t been “improved” by your operating system. Everything past those three promises is jewelry.
And yet almost everyone buys this stuff backwards. The control surface with the trackballs comes first, because it looks like a colorist’s desk. The $199 probe that would make the picture true? “Eh, later.” Later never comes. So this kit is ordered by what changes your grade, not by what photographs well. Probe before panel. Every time.
Last updated: July 2026. Some links below are affiliate links. Buy through them and it helps keep the site running, at no extra cost to you. I only point at gear I’d be comfortable handing to a friend.
The color suite, at a glance
- The grading monitor: ASUS ProArt PA32UCDM, a 31.5 inch 4K QD-OLED, about $1,900 list and it dips to $1,700
- The budget monitor: BenQ PD2706U, a factory calibrated 27 inch 4K IPS, around $400
- The calibrator: Calibrite Display Pro HL, $199 on the dip ($279 list)
- The control surface: Blackmagic Micro Color Panel, $559
- The bias light: MediaLight Mk2, about $94, sold direct from the maker
- Clean video output: Blackmagic UltraStudio Express Monitor 3G, $175, sold direct
Add it up with the ASUS and you’re at roughly $2,900 in hardware. Fold in the $295 DaVinci Resolve Studio license the panel assumes you own and the real number is about $3,300 out the door. Swap the OLED for the BenQ and the whole suite lands near $1,800, which is a real, trustworthy grading setup for less than most people spend on a camera body. If the budget only stretches to two items on this list, buy the calibrator and the bias light. I’m serious. The rest of this guide explains why.
The grading monitor: ASUS ProArt PA32UCDM
This is the sweet spot for grading at home right now, and the reviews back it up: CineD ran it through a lab test and RedShark called it the best value grading OLED going. It’s a 31.5 inch 4K QD-OLED with true blacks, 99% DCI-P3 coverage, factory calibration at Delta E under 1, and hardware calibration support (it’s Calman Ready and works with ASUS’s own ProArt calibration), plus Dolby Vision, HDR10, and Thunderbolt 4. True reference displays start around $10K. This gets you a reference-adjacent image for under two grand, and it pairs with the exact probe further down this list. (Want the full tier-by-tier breakdown, including the new Apple Studio Display XDR and the real reference-monitor answer? That’s the grading monitor guide.)
Now the con, and it’s a big one: QD-OLED brightness limiting. Push a full-screen white frame in SDR and the panel clamps to roughly 250 nits, so bright full-frame HDR scenes dip too. It is not a mastering monitor, and pretending otherwise is exactly the kind of lie this article is about. Calling it a reference display is a stretch; it’s a very accurate grading display, and that’s the ceiling. Two more things. The glossy panel raises blacks noticeably in a lit room, so you need a controlled dim environment to get what you paid for (the bias light below is half of that answer). And OLED burn-in is a real consideration with Resolve’s static UI parked on it all day, so the safest setup runs it as a clean-feed grading display rather than a GUI monitor. It has no SDI input, so that clean feed comes in over HDMI from an I/O box like the last pick on this list. Yes, the kit is a system. That’s the point.

The budget monitor: BenQ PD2706U
“Do I really need the OLED?” For most of the work most of us deliver… no. Most paid jobs at this budget are Rec.709 for the web and client review, and for that world the PD2706U is excellent: a factory calibrated 27 inch 4K IPS with 99% sRGB and Rec.709 coverage, uniformity compensation, a hotkey puck for jumping between color modes, KVM, and 90W USB-C to run a laptop off one cable. Its M-Book mode even matches MacBook Pro displays for round-tripping with clients who review on one. It was selling around $515 earlier in 2026 and now sits near $400, which is about a fifth of the OLED for a trustworthy image.
Know what it is, though. At 95% DCI-P3 you cannot fully judge P3 deliverables on it. This is a Rec.709 tool, and if your work is P3 you’re shopping in the OLED’s aisle (or looking at something like the ASUS PA279CRV, which covers 99% P3 for similar money). The DisplayHDR 400 badge with no local dimming is HDR in name only, so grade SDR on it and ignore the sticker. And the factory calibration spec is Delta E of 3 or less, looser than the pro-tier displays, which is exactly why the next item on this list is not optional. (And why the calibration guide exists.)

The calibrator: Calibrite Display Pro HL
If this whole article had to be one sentence, it would be: buy the probe. An uncalibrated monitor is expensive guessing. This is the successor to the i1 Display Pro, the default probe at this price for a reason: the HL sensor reads LCD, mini-LED, QD-OLED, and Apple XDR panels up to 3,000 nits, it turns in sub-1.0 Delta E results across panel types, and it’s the probe both monitors above expect for hardware calibration. ASUS ProArt calibration, BenQ, Calman, DisplayCAL, ColourSpace… all support it. It has been bouncing between $199 and its $279 list price all year and sits at $199 as of early July, so buy on the dip.
The weak link is the software in the box. Calibrite’s bundled Profiler app is photo-oriented, so for a video suite, plan on driving the probe with DisplayCAL (free), Calman, or your monitor’s own hardware calibration tool instead. The hardware is great; just don’t marry the bundled app. Two smaller caveats: the 3,000 nit ceiling means true HDR mastering displays need the pricier Display Plus HL, which is fine because nothing in this kit comes close, and a full characterization run takes 15 to 30 minutes, noticeably slower than cheap consumer pucks. Worth every minute.

The control surface: Blackmagic Micro Color Panel
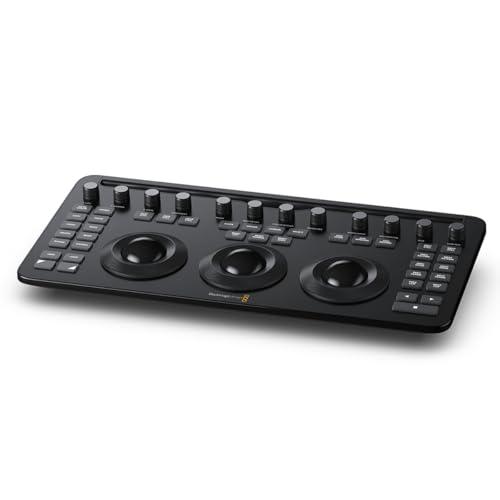
Okay, now the fun one. Three real trackballs, twelve knobs, and transport controls in a panel small enough to live next to a keyboard, for $559. It connects over USB-C or Bluetooth and even drives Resolve on an iPad. The trackball and dial sensitivity is right out of the box, and once it clicks you stop reaching for the mouse on primaries entirely. This is the panel that made hardware grading a realistic line item in a sub-$4K suite instead of a someday purchase.
Just be clear about what you’re buying: speed, not accuracy. The panel changes nothing about your picture. It’s also Resolve-only. It does nothing in Premiere or Final Cut, so it’s a commitment to the Resolve ecosystem. There are no LCD soft-key displays like the $1,600+ Mini Panel has, which means secondaries and Color Warper work still live on banks of shift-function buttons with a real learning curve. And unlike the old Micro Panel, there’s no DaVinci Resolve Studio license in the box, so add $295 if you don’t own Studio yet. That’s why it sits fourth on this list and not first.
The bias light: MediaLight Mk2
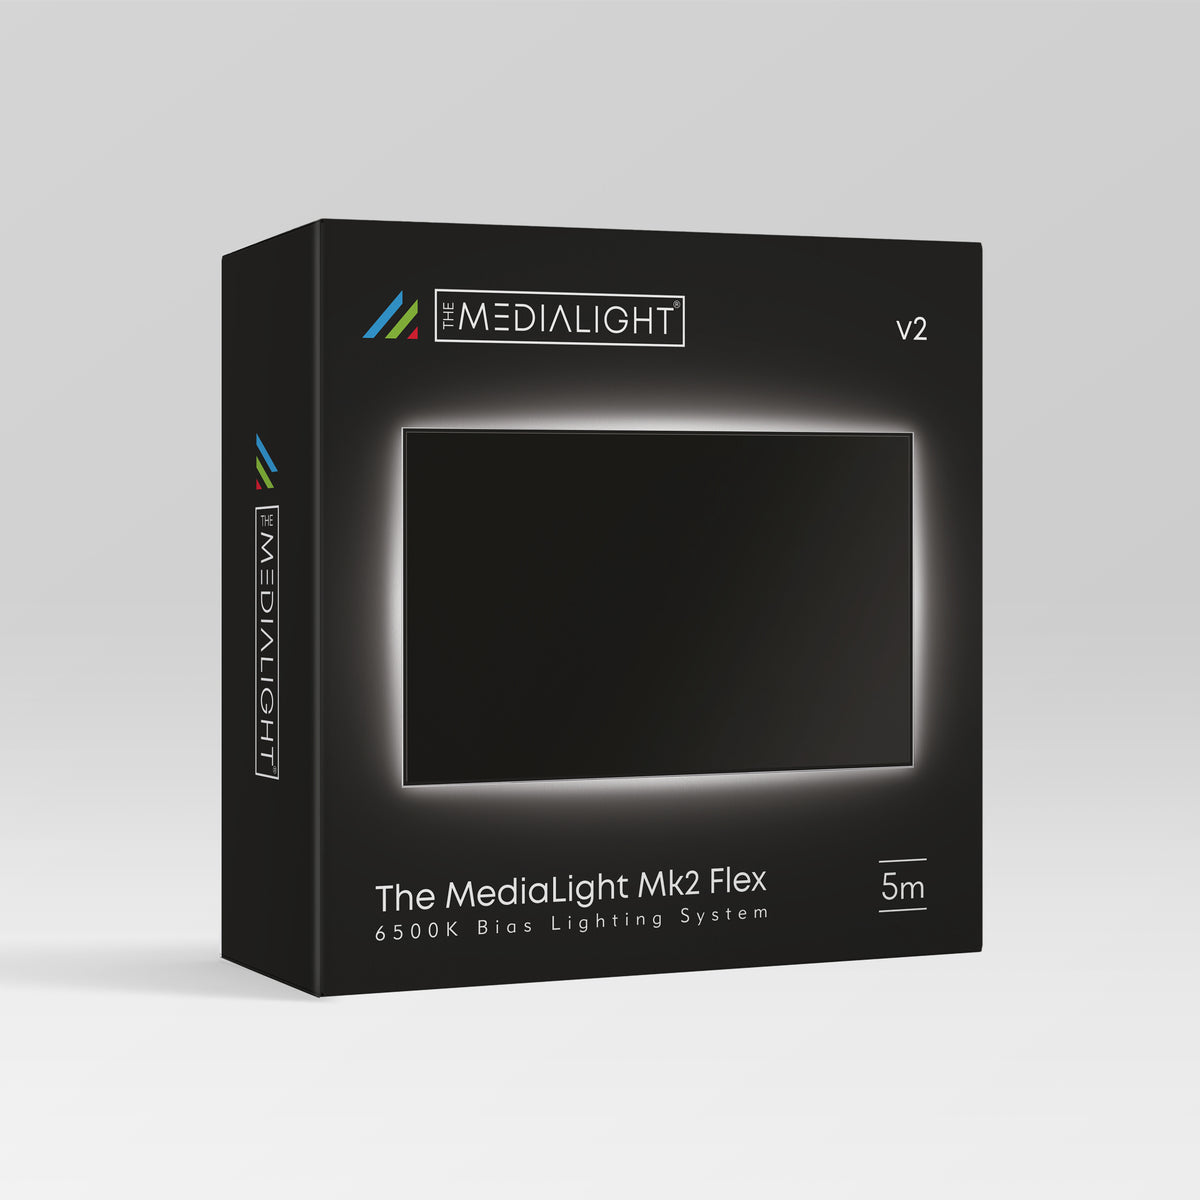
The cheapest real upgrade in this entire kit, and the one people skip because it’s “just an LED strip.” It is not just an LED strip. The MediaLight Mk2 is D65: 6500K, CRI 98, TLCI 99, with 150 flicker-free dimming levels, powered off a USB port on the back of the monitor. Flanders Scientific resells this exact light for its own reference monitors, which tells you everything. Proper D65 bias lighting stabilizes your perceived black level and contrast so your eyes stop adapting to a dark wall, and that matters double behind an OLED in a dim room. The 2 meter kit wraps a 27 to 32 inch display. Those cheap RGB strips on Amazon that claim 6500K? Spectrally, not even close.
The catches are small but real. About $94 is real money for a light strip, and if your monitor doesn’t have a spare USB port, a wall adapter is an $8 to $16 add-on. And the correct setup is on you: SMPTE practice puts bias light at roughly 10% of your screen’s peak white, so expect some fiddling with the dimmer and a neutral wall behind the desk. It can’t fix a room full of mixed-temperature lighting; that part is on you too. One buying note: MediaLight sells direct from biaslighting.com, there’s no Amazon listing, so the box below is a plain link rather than the usual card with live pricing.
Clean video output: Blackmagic UltraStudio Express Monitor 3G
The newest thing on this list by far: Blackmagic announced it on July 7, 2026, three days before this guide went up, as the successor to the discontinued UltraStudio Monitor 3G. What it does is the least glamorous, most important job in the room: it takes Resolve’s video out of the GPU and operating system color pipeline entirely and sends it to your display over 3G-SDI or HDMI, bus-powered over USB4, for $175. Why does that matter? Because the OS is not a neutral party. Between GPU drivers and system-level color management, the picture in your viewer has already been touched before it reaches the glass. A dedicated output box is how you see the actual signal.
The con is a hard one: it caps at 1080p60 output. For a 1080 reference workflow, totally fine. If you need to reference-monitor UHD, this box is not your answer; the step up is the $1,199 UltraStudio 4K Mini, and that’s a different budget conversation. It also needs a USB4 or Thunderbolt 4 port, so check your machine before you order. And because it’s days old, there’s no Amazon listing yet; you’re buying direct from Blackmagic or its resellers, so this box is a plain link too.

How the kit adds up
| Component | Pick | Why it earns its slot | Street price |
|---|---|---|---|
| Grading monitor | ASUS ProArt PA32UCDM | Reference-adjacent QD-OLED image for a fraction of reference money | About $1,900 list, dips to $1,700 |
| Budget monitor | BenQ PD2706U | Factory calibrated Rec.709 truth for most client work | Around $400 |
| Calibrator | Calibrite Display Pro HL | Makes whichever monitor you own stop lying | $199 on the dip, $279 list |
| Control surface | Blackmagic Micro Color Panel | Three real trackballs; primaries without a mouse | $559 |
| Bias light | MediaLight Mk2 | Real D65 behind the screen keeps your eyes honest | About $94, sold direct |
| Clean video output | UltraStudio Express Monitor 3G | Bypasses the OS color pipeline for the price of a dinner out | $175, sold direct |
What changes your grade
Calibration is the whole ballgame. A $400 monitor with a fresh calibration will serve your grade better than a $2,000 monitor running whatever it shipped with. That’s not a hot take. Every creative decision you make sits downstream of the display, so if the display is wrong, every decision is wrong with it. The probe is the highest-leverage $199 in this entire hobby-slash-profession.
The room is part of the monitor. Your eyes are adaptive instruments, and they calibrate themselves to whatever surrounds the screen. A dark wall behind the display makes you read shadows wrong; a warm lamp nearby tints your neutrals. A dim, controlled room with a D65 bias light behind the screen holds your perception steady for hours. This costs about $94 and it changes more than the panel that costs six times as much.
Trust the signal path, not the viewer. The image in your software viewer has passed through GPU drivers and OS color management before you see it. Usually it’s close. “Close” is a fun word to explain to a client. A clean feed through a dedicated output box removes the question entirely, and at $175 it’s the cheapest insurance in the kit.
The panel makes you faster, not better. Hardware surfaces are a genuine joy and a real speed upgrade once they’re under your fingers. But they change nothing about what’s on screen. If you’re choosing between the panel and the probe, it isn’t a choice. If you’re choosing between the panel and the bias light, it still isn’t a choice. The panel is the reward you buy after the truth is handled.
FAQ
Do you need a reference monitor to grade?
No. True reference displays start around $10K, and they exist for broadcast QC and HDR mastering, where a facility signs off on absolute accuracy. What most working grades need is a calibrated display in a controlled room, which is exactly what this kit builds. If a job requires a reference monitor, the job’s budget should rent one, and you’ll know that job when it lands.
How often should you calibrate?
Panels drift as they age and rack up hours, so calibration is a habit, not a one-time event. A sensible rhythm: recalibrate before any grade that matters, after you move or remount the monitor, and on a standing schedule in between. A full characterization run on the Display Pro HL takes 15 to 30 minutes, so put a recurring reminder on the calendar and let it cost you half a lunch break.
Is a control panel worth it for hobby grading?
If you grade in Resolve regularly and you enjoy the craft, yes. The Micro Color Panel at $559 made that answer possible; hardware grading used to start much closer to the Mini Panel‘s $1,600+ territory. But it’s a Resolve-only luxury that improves your speed and your mood; the picture quality comes from the calibrated monitor, which you should buy first. If it’s the panel or the probe, buy the probe. Ask again next year; the panel will still be there.
Now go grade something
Once the suite tells you the truth, the rest of the pipeline deserves the same treatment. Keep your Resolve projects from eating themselves with a project folder structure designed for DaVinci Resolve, and when a client says the grade looks different on their phone, send them why your exports look different on an iPhone, because that one is the viewing-environment problem on the other end of the wire.
And that’s it! As always, these are the picks I’d put in my own room; your room, your deliverables, and your budget get the final vote. A suite that doesn’t lie won’t make you a great colorist overnight, but it means every hour you put in is teaching you something true. Got a bias light or probe you swear by? Drop it in the comments. The rest of our buyer’s guides live on the Gear Guides page.


