Welcome to the world of VFX. And even better, welcome to the world of being an on-set VFX Supervisor. You’ll love it here… I promise. Even though the days may be chaotic, the budget may be lacking, and the crew 4hrs into overtime… when all is said and delivered, you can stand back and say “I helped make the impossible possible.”
The best VFX supervisors are masters of the visual realm, know how to talk to clients and producers, and often have extensive 3D and/or compositing experience. They also know how to utilize every tool of the trade to the best of their abilities… which, is exactly what we will be covering in this article. Now, VFX is constantly evolving. This means that what I say is the best now might become outdated a few years down the line. However, besides planning how a shot is to go off, a VFX supervisor’s role is to accurately capture camera telemetry, reference photos, lighting references, measurements, and basically anything and everything that can ensure that the VFX team in post-production has the smoothest (and fastest) ride possible. This results in staying within budget and more time focusing on the creative rather than trying to figure out what the hell was going on on set.
What you need to make your VFX look realistic.
VFX should not look like VFX. It should look real. Even if it is a gargantuan hyper-dimensional shark swimming next to the Golden-Gate Bridge shooting freakn’ laser beams at aliens invading earth; the lighting, colors, and camera/camera lenses should all align with what could exist. Even if your 3D object could never exist in reality, the aforementioned components do. In the end, all those attributes are combined and if done correctly, will make the end product real.
But yes yes… there are still many other factors in determining what makes a 3D object real or not but that is outside the scope of this article. Here we are just talking about the tools needed to track, log, and capture data on set to ensure that the rest of the VFX pipeline isn’t having to perform tedious trial and error which would result in worse VFX.
Item 1: Pannoramic HDR Camera to create an HDRi
Okay. What the hell is an HDRi? As crazy as it sounds… it is actually pretty simple:
An HDRi (High Dynamic Range Image) is a type of image file that captures a wider range of brightness and color information than a standard image file. This allows for more accurate and realistic lighting in visual effects (VFX) and CGI (computer-generated imagery). HDRi images can be used to create reflections, refractions, and global illumination, which are ridiculously important for creating realistic and immersive visual experiences. This image is created by capturing multiple photos at different exposures and then merging them to create a single image with a higher dynamic range. This allows for a more accurate representation of the scene’s lighting and color which results in… (drum roll) more realism in your VFX.
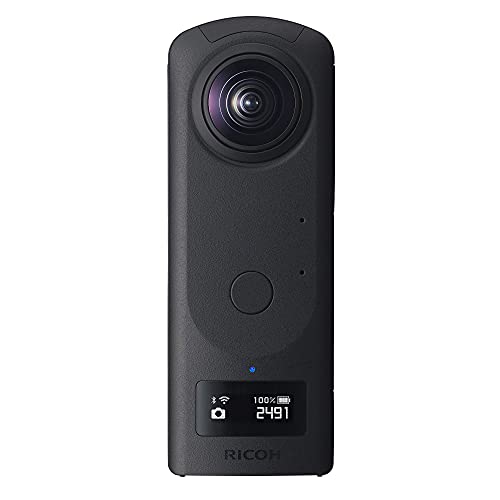
How do you capture an HDRi? Well, a few years back you would have to set up a DSLR, a fancy tripod head, and basically scan the room for 20 minutes. Now, almost every VFX supervisor uses a Theta Z1. No joke… it really is the best.
I own the RICOH Theta Z1 and have used it on countless shoots. From Tyler-The-Creator to the latest for Amazon, it has served me well and I will continue to use it for shoots to come. Works great with a basic photography tripod.
The Theta has modes that can capture a series of shots at different exposures for later merging in a necessary (and all-around amazing) software like PTGui.
The new Theta Z1 camera has a significantly larger capacity than the previous model and can capture high-quality 360 degree images and videos. It has advanced features such as suppression of ghosting, flare, and fringing, as well as dynamic range correction and automatic overexposure suppression. The camera also supports efficient transfer speeds via USB 3.0 and allows for RAW development and stitching with compatible software.
Before we move on though, here is a tutorial on how to make an HDRi from the multiple panoramic images you captured on set:

Item 2: Color Chart
Lenses have different color profiles and so do cameras. Doing VFX where multiple cameras are in play can be a nightmare for consistency in post and will cause budget overages and delays. When working in VFX, ensuring the colors produced by your VFX software match the colors captured by your camera system is crucial.
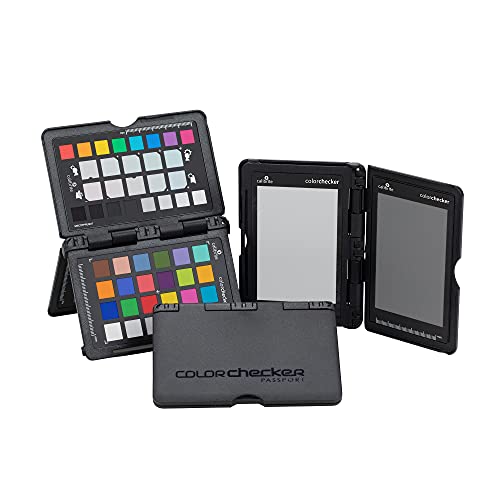
“Well the slate has color bars… why should I need this?” The slate’s colors are very rudimentary and usually wrong in the technical sense. That is where a professional color chart comes in. Always grab footage of a color chart on set when you have crazy lighting or during VFX-intensive scenes. Sometimes it is best to capture these during the camera and lens testing in pre-production. While you are at it, film a distortion grid (in pre-pro) to help your VFX artists match the lens geometry.
The Passport Photo 2 combines four photographic targets into one pocket-size protective case that adjusts to any scene, allowing you to set exposure, create custom white balance, color profiles, and much more.
Item 3: Chrome and Gray Spheres
Chrome and grey spheres are used to capture the lighting, color, and reflections of a real-world environment… just like the HDRi. However, these spheres don’t have to be stationary like an HDRi and can move with an object. This is very useful when shooting a “to-be” creature for example.
These spheres are placed in a scene in combination to capture the lighting and color information of the surrounding environment, as well as the reflections of the environment.
A grey sphere, also known as a “light probe” or “environmental map” is made of a neutral grey material that does not reflect color and is placed in a scene to capture the lighting information of the surrounding environment. What is especially important here is that it can get proper shadow roll off which can change depending on the shape and intensity of the light source.
A chrome sphere, also known as a “reflective sphere” or “mirror ball,” is made of a highly reflective chrome-plated material that is used to capture the reflections of the environment. The chrome sphere is placed in the same position as the grey sphere. The resulting image is known as an “environment map.” This again is the same concept behind an HDRi but can be tethered to an object that might be moving between drastically different lighting environments.
In summary, an HDRi captures the lighting and color information of a static scene while chrome and grey spheres capture the lighting, color, and reflections of an evolving environment. All these tools are used to light 3D models and environments in VFX to achieve what we all want… realism.
Oh… also… I really don’t understand why these cost $800. But alas, welcome to VFX ¯\_(ツ)_/¯

Item 4: Laser Measuring Tape
Perspective is very important in VFX and in order to line up objects properly in VFX post-production, sometimes you just have to measure some things on set. Don’t bother with a tape measure, use a laser. It is faster, covers a much longer distance, and doesn’t get in the way of the rest of the crew.
Features long-range measuring with extreme accuracy and measures distances up to 65 feet to within 1/8 inch.

Item 5: Reference Image Camera
Reference images are insanely important in VFX because they provide a visual guide for the artists creating the effects. From recreating clothing textures on an actor’s body, to painting on additional walls, or even helping artists duplicate objects on set. These images will ensure the visual effects blend seamlessly with the live-action elements, creating a believable and cohesive final product.
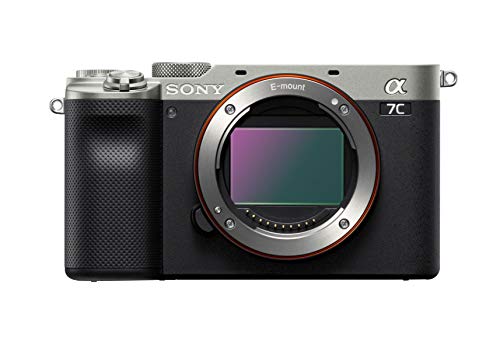
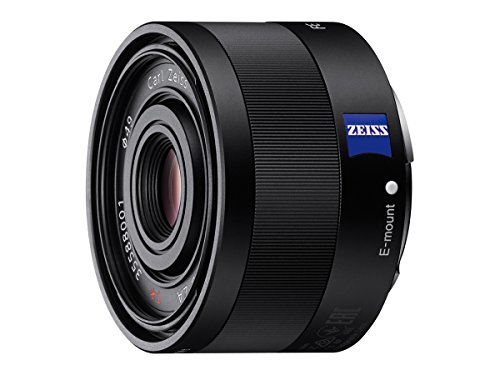
The best camera for the job is a trusty Sony a7c. Not too expensive and not too big, it fits great in my bag and takes “less” out of my wallet. Pair this with a 35mm lens and you got yourself a perfect duo.
The world's smallest and lightest full-frame camera has an advanced 24.2MP back-illuminated 35mm image sensor, capable of 4K movie recording with full pixel readout, 15-stop dynamic range, and high autofocus capabilities, including 693 phase-detection and 425 contrast AF points.
Features a bright maximum aperture of F2.8, compact dimensions, and outstanding optical performance in a versatile 35mm focal length.
Item 7: Gaff Tape
Use it for tracking markers and other random things! I don’t know what else to say about it… it’s tape.

Item 8: A Laptop
Generally speaking, MacOS is not a good choice for VFX work simply because there is a ton of VFX software that only runs on Linux or Windows. However, as a VFX supervisor, you will not be needing to perform VFX on set. Leave that to the guys at the VFX studio. Occasionally though, you might be needing to test a few compositions using Flame, Fusion, or After Effects. The MacBook can run all three at speeds that rival massive custom-built PCs. Macs also have Airdrop and an insane battery that will last all day.
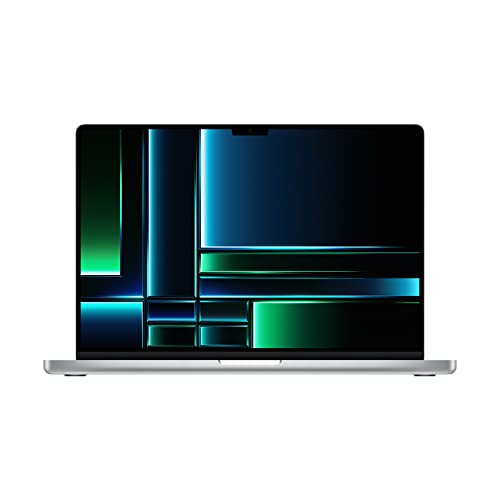
Personally, I have the MacBook Pro with the M1 Pro Max chip and… I can’t live without it. It is game-changing. I use it to organize my files, run PTGui, ARRI Meta Extractor, and occasionally test files airdropped from the DIT. As a VFX Supervisor, I highly recommend it.
Take on demanding projects with the M2 Pro or M2 Max chip. M2 Pro has 12 CPU cores, 19 GPU cores, and up to 32GB unified memory. M2 Max has 12 CPU cores, up to 38 GPU cores, and up to 96GB unified memory.
Item 9: The Backpack
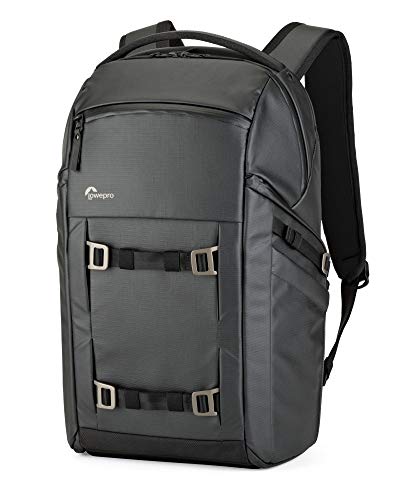
You just bought all of this expensive gear… are you going to lug it around in its’ cardboard boxes now? No, of course not. After owning this backpack for over 6 years and still going strong; I must recommend Lowepro.
This backpack is infinitely customizable and will withstand anything you throw at it… or in it. 11/10: a must-have for VFX Supervisors. Plus, it looks cool af and is super comfy for those long treks to set.
Versatile Daypack Designed for VFX Supervisors... and photographers too.
In Conclusion
And that’s it! This is all you need to get started as a VFX Supervisor. Thanks to high rates and kit fees, you will make back your investment in no time… However, in order to be constantly hired you have to always expand your skills and understand the techniques and theories behind VFX. Learning Nuke or Flame is not good enough… understand the why and the how. A commonality in almost every VFX artist’s career is this book: Digital Compositing for Film and Video. It teaches all the basics of how to be not just a good VFX artist… but a great one.
By looking over the best cameras for HDRi creation and reference images plus the necessary VFX tools of the trade like spheres, tape, and laser measuring devices. I’m confident this guide will have you set for many years of creating the impossible.